Reverse Sear Steak: The Method That Changes Everything
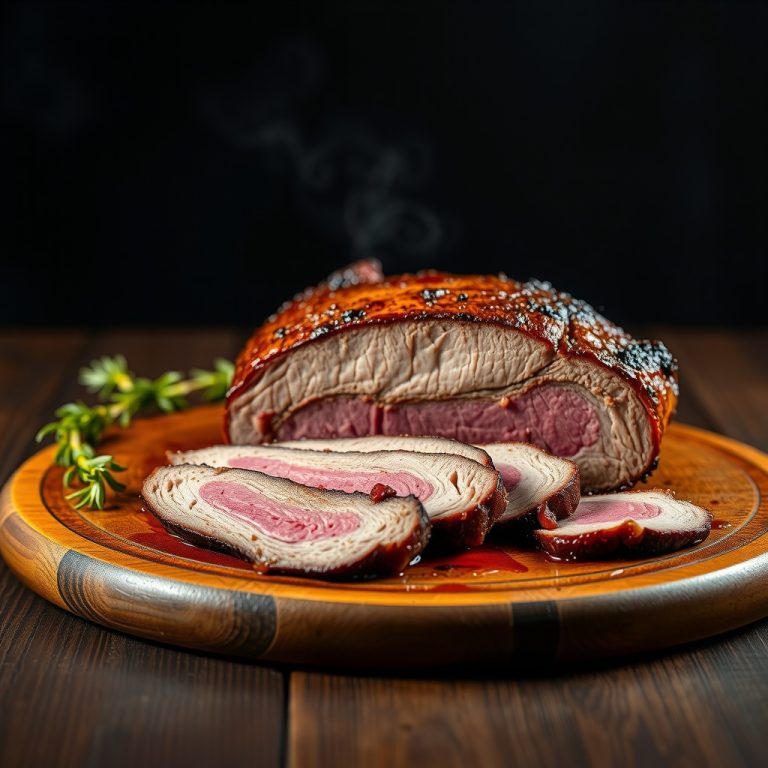
If you’ve ever cut into a steak and found the edges gray and overcooked while the center barely reached medium-rare, you already know the problem. Traditional high-heat searing works — but it’s unforgiving. One extra minute and you’ve lost it. The reverse sear steak method flips the script, giving you edge-to-edge perfection with a crust that would make a steakhouse chef jealous.
What Is the Reverse Sear Method?
The reverse sear is exactly what it sounds like: you cook the steak at low heat first, then finish with a blazing-hot sear. Instead of starting with a hot pan and hoping the inside catches up, you gently bring the steak to just below your target temperature in the oven (or grill set up for indirect heat), then hit it with maximum heat to build the crust.
The result is a steak cooked to the same temperature from edge to edge — no gray band, no guessing, no stress. It’s not a trick. It’s physics working in your favor.
Why Reverse Sear Beats Traditional Searing
Traditional searing relies on speed. You drop a cold steak into a screaming-hot pan and hope the heat penetrates evenly before the outside burns. The problem: meat is a poor conductor of heat. By the time the center reaches 130°F, the outer half-inch has already climbed past 160°F — that’s the gray ring you see in most home-cooked steaks.
The reverse sear eliminates this entirely. Low oven heat (225–250°F) moves slowly and evenly through the meat. The entire steak reaches close to your target temperature at roughly the same time. Then the quick, final sear — 60 to 90 seconds per side — builds the Maillard crust without pushing the interior any further.
The Bonus: A Better Crust
Here’s something most people don’t expect: the reverse sear actually produces a better crust than starting with a sear. During the low-and-slow oven phase, the surface of the steak dries out. Dry surface = faster, more even browning when it hits the hot pan. You get a deeper, crispier crust in less time, with less smoke.
How to Reverse Sear a Steak: Step by Step
Step 1: Choose the Right Steak
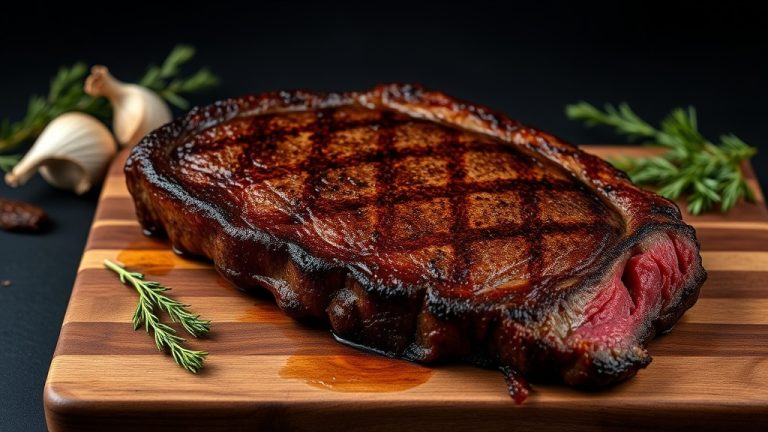
Reverse sear shines on thick cuts — at least 1 inch, ideally 1.5 to 2 inches. Think ribeye, New York strip, T-bone, or porterhouse. Thinner steaks cook too fast at low heat for the method to be worth it. For those, a standard sear works fine.
Prime or Choice grade with good marbling will give you the best results. The fat renders beautifully during the slow oven phase.
Step 2: Season Generously and Rest
Pat the steak completely dry with paper towels. Season aggressively with kosher salt and freshly cracked black pepper on all sides, including the edges. For best results, season the night before and leave the steak uncovered in the refrigerator — this dry brining process draws out moisture, then reabsorbs it, seasoning the meat deeper and further drying the surface.
Step 3: Low and Slow in the Oven
Preheat your oven to 225–250°F (107–121°C). Place the steak on a wire rack set over a baking sheet — this allows air circulation on all sides. Insert a probe thermometer into the thickest part of the steak.
Cook until the internal temperature reaches:
- 115°F for rare (final target: 125°F)
- 120°F for medium-rare (final target: 130–135°F)
- 130°F for medium (final target: 140–145°F)
Pull it 10–15 degrees below your final target — the sear will add those last degrees. Depending on thickness, this takes 25–45 minutes for a 1.5-inch steak.
Step 4: The Sear
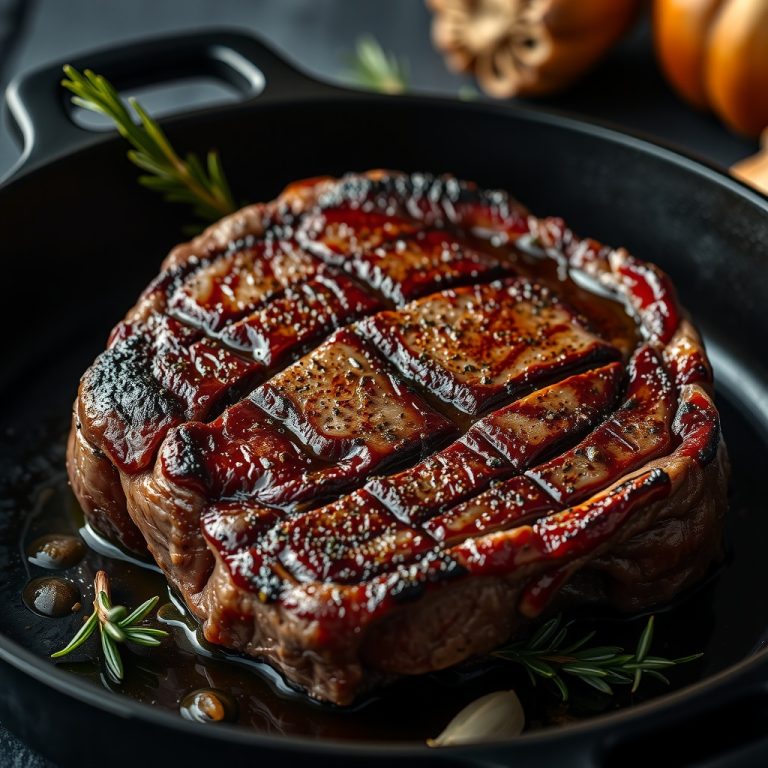
While the steak is in the oven, get your cast iron skillet (or carbon steel pan) screaming hot. Add a high-smoke-point oil — avocado oil or refined vegetable oil works well. When the oil begins to shimmer and smoke, you’re ready.
Sear the steak 60–90 seconds per side without moving it. Press it gently for full contact. Add butter, smashed garlic, and fresh thyme in the last 30 seconds and baste constantly. Sear the edges too — stand the steak up and roll it around the edges for 30 seconds total.
Because the steak was already dried during the oven phase, the crust forms fast and even. Pull it when the crust is deep brown and the thermometer reads your target temperature.
Step 5: Rest — or Don’t
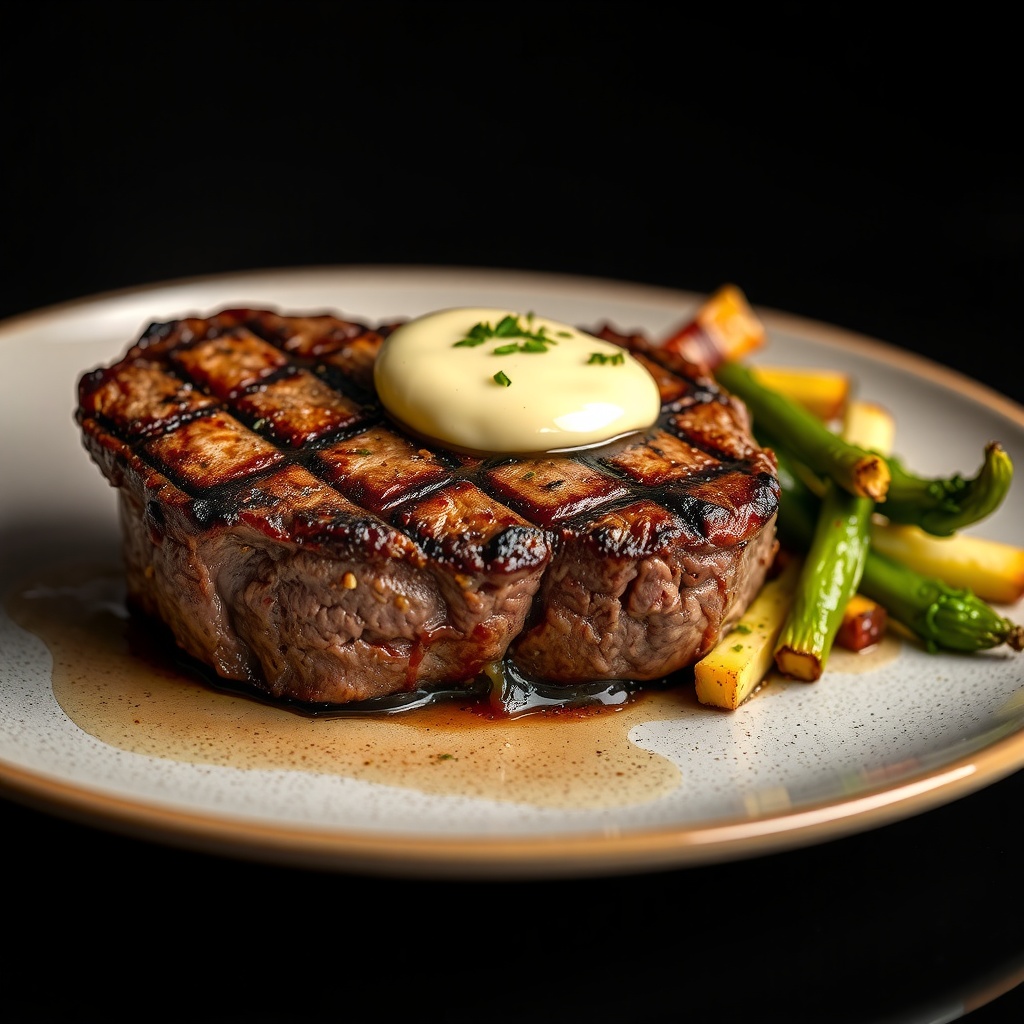
Here’s a surprise: with the reverse sear, you don’t need a long rest. The slow oven phase already allowed the proteins to relax and the juices to redistribute. A 5-minute rest while you plate is sufficient. The steak stays hot, the crust stays crispy, and you can eat it while it’s at its best.
Reverse Sear on the Grill
The method works beautifully outdoors too. Set up your grill for two-zone cooking: coals or burners on one side only. Cook the steak on the indirect side with the lid closed until it’s 10–15 degrees below target, then move it directly over the coals for the final sear. You get smokier flavor and the same edge-to-edge precision.
On a charcoal grill, this approach pairs especially well with a small chunk of hardwood — cherry or hickory adds a light smoke layer that complements the beef without overpowering it.
Common Mistakes to Avoid
Pulling at the wrong temperature. Don’t wait until the steak hits your final target in the oven — the sear will add heat. Pull early.
Skipping the probe thermometer. You cannot do this reliably by feel or time. A $15 instant-read or probe thermometer is non-negotiable.
Not patting dry. Moisture kills crust. Pat thoroughly before seasoning and again (lightly) before the sear if the surface looks damp.
A lukewarm pan. The sear has to be fast. If the pan isn’t properly preheated, the steak steams instead of searing and you lose the crust.
Final Thoughts
The reverse sear steak method isn’t a gimmick — it’s the most reliable path to a perfectly cooked, beautifully crusted steak that home cooks can replicate every single time. It takes a bit longer than a straight pan sear, but the margin of error is practically zero. Once you cook a steak this way, it’s hard to go back.
Thick ribeye, bone-in strip, or a tomahawk on the weekend — the reverse sear handles all of it. Try it once and you’ll understand why chefs and serious home cooks have made it their default method.