Charcoal Grilling for Beginners: Complete Guide to Success
Essential Charcoal Grilling Equipment for Beginners
Starting charcoal grilling for beginners doesn’t require an expensive setup, but having the right tools makes a massive difference. A quality grill forms your foundation, while accessories handle the heat and safety concerns that keep you grilling confidently.
Weber kettle grills dominate the beginner market because they’re affordable, durable, and versatile enough for burgers, ribs, and smoking. The rounded design distributes heat evenly, and the hinged grate lets you access charcoal without removing food. A charcoal chimney starter eliminates lighter fluid and gives you hot coals in 15 minutes—no mess, no chemicals.
Beyond the grill itself, you’ll need grill grates (or replacement grates if yours are worn), sturdy tongs with a long handle, and a reliable temperature gauge. Long-handled tongs keep your hands away from heat and give you better control flipping steaks. A quality thermometer with a probe eliminates guessing—you’ll know exactly when chicken hits 165°F or your steak reaches medium-rare.
The five essential charcoal grilling tools for beginners are: (1) a Weber kettle grill or similar 22-inch charcoal grill, (2) a charcoal chimney starter, (3) cooking grates in good condition, (4) long-handled tongs and a grill fork, and (5) a thermometer with a probe for internal temperature checks. Heat-resistant gloves and a stainless steel brush complete your setup for safe, clean cooking sessions.
Heat-resistant gloves rated for 500°F+ protect your hands when adjusting grates or moving hot charcoal. A brass or stainless steel cleaning brush keeps grates free of buildup, which prevents sticking and extends grate life. Store these tools together so they’re ready whenever you fire up the grill.
Types of Charcoal: Briquettes vs Lump Charcoal
Charcoal comes in two main varieties, and choosing between them shapes your entire grilling experience. Understanding the differences helps you pick fuel that matches your cooking style, budget, and the flavors you want on your food.
Briquettes are compressed charcoal dust mixed with starch binders, shaped into uniform pillow-shaped pieces. Kingsford and Stubbs dominate this market because briquettes burn consistently for 1-2 hours, maintain steady temperatures around 225-250°F without constant adjustment, and cost $3-5 per 10-pound bag. The uniformity means predictable heat—perfect for charcoal grilling for beginners who haven’t yet mastered airflow control.
Lump charcoal is 100% hardwood with no additives—just chunks of wood burned down to pure carbon. Oak, hickory, and maple create deeper, smokier flavors that briquettes can’t match. Lump charcoal reaches 1200°F+, making it ideal for high-heat searing and quick cooks. A 10-pound bag runs $8-12, costs more per pound than briquettes, but some pieces burn completely in 45 minutes while others last 90 minutes.
Briquettes burn longer and more consistently (1-2 hours at steady temperatures), while lump charcoal reaches higher temperatures (1200°F+) but burns faster with more temperature fluctuation. Briquettes cost $3-5 per bag, lump charcoal costs $8-12 per bag. Choose briquettes for long, low cooks and temperature stability; choose lump charcoal when you want intense heat and wood smoke flavor.
Storage differs between the two. Briquettes absorb moisture from humid air and lose their burn quality when damp—store them in an airtight container or sealed bag in a garage or shed. Lump charcoal resists moisture better but costs more, so proper storage still matters. Both types spoil after 6 months in humid climates, so buy what you’ll use within a season.
How to Light Charcoal Safely and Effectively
Lighting charcoal safely comes down to using the right method, and the chimney starter beats lighter fluid every single time. A chimney starter is a metal cylinder with a handle, a grate inside, and air vents at the bottom—fill it with charcoal, light newspaper underneath, and physics does the rest. Hot air rises through the vents, ignites the charcoal from bottom to top, and in 15 minutes you have glowing coals ready to dump into your grill.
The chimney starter method: (1) Crumple two sheets of newspaper and place them in the bottom chamber of your chimney starter. (2) Fill the top chamber with charcoal—either briquettes or lump chunks—packing them loosely so air flows around each piece. (3) Light the newspaper with a long-reach lighter or match, positioning the flame at multiple spots so the paper catches fully. (4) Wait 5-7 minutes for the charcoal on top to turn gray and ashy. (5) Carefully pour the lit charcoal into your grill’s bottom basket, arranging it for either direct heat (spread flat) or indirect heat (pushed to one side). (6) Let coals burn another 2-3 minutes before placing your grill grate on top and cooking.
Lighter fluid leaves chemical residue that taints meat flavors and produces bitter, off-tasting food—especially noticeable on chicken and fish where subtle flavors matter. The smell alone signals amateur grilling to experienced cooks. Since a chimney starter costs $15-25 and lights charcoal with just newspaper, there’s zero reason to use lighter fluid. Newspaper is free, burns completely without lingering taste, and you control exactly when ignition happens.
Coal arrangement shapes how your food cooks. For burgers, steaks, and hot-and-fast cooking, spread coals in a single layer across your grill’s entire bottom—this creates direct heat around 400-500°F, perfect for searing. For low-and-slow cooking like ribs or brisket, pile coals on one side only, leaving the other side empty for indirect heat. Place a drip pan with water on the cool side to catch juices and stabilize temperature around 225-250°F.
Direct vs Indirect Heat Cooking Methods
Direct and indirect heat are the two fundamental cooking methods on a charcoal grill, and mastering the difference transforms your ability to cook everything from thin steaks to whole chickens. Direct heat means your food sits directly over hot coals, exposing it to intense, immediate heat that sears surfaces and cooks quickly. Indirect heat positions food away from coals, cooking it with ambient heat circulating around your grill’s chamber—more like an oven than a stovetop.
Direct heat cooking uses coals spread directly beneath food, reaching 400-500°F for fast searing. Indirect heat moves coals to one side of the grill, leaving the opposite side empty, and cooks food at lower temperatures (225-350°F) using surrounding heat. Direct heat works best for steaks, burgers, chicken breasts, and vegetables. Indirect heat suits thick cuts like whole chickens, roasts, ribs, and brisket that need time for heat to penetrate without burning the outside.
Setting up a two-zone fire takes less than two minutes and gives you maximum flexibility. After dumping hot coals from your chimney starter into the grill, divide your charcoal into two piles. Push all coals to one side of your kettle grill’s basket, leaving the other half completely empty. This creates your hot zone (direct heat) and your cool zone (indirect heat).
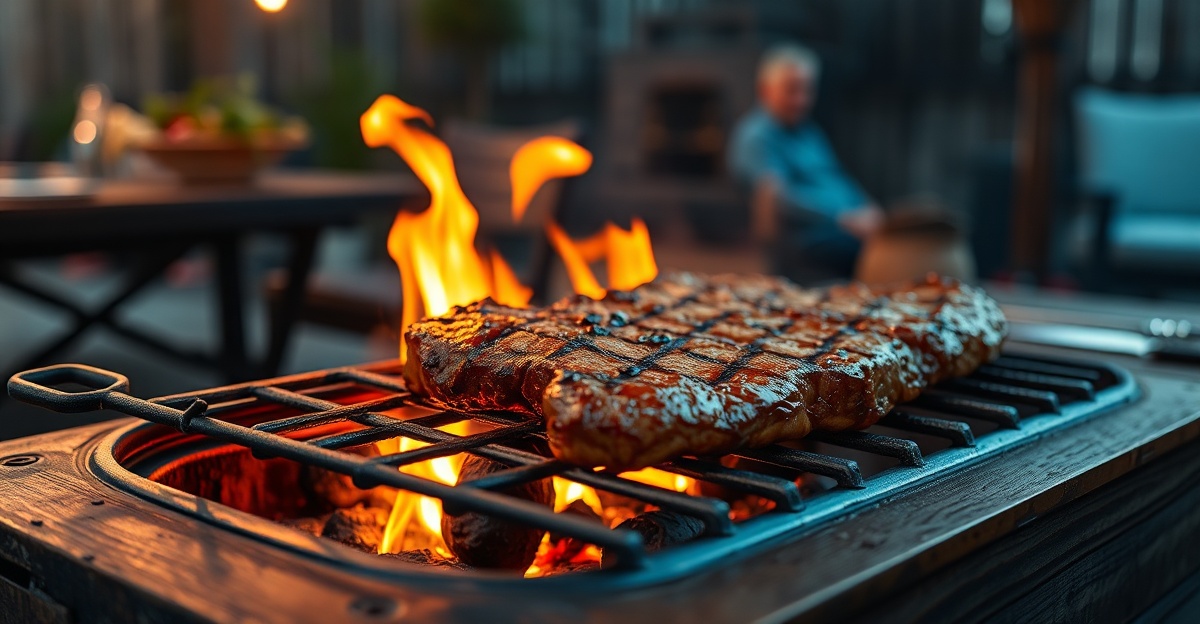
Steaks and burgers demand direct heat because they need crust and char. Lay your meat directly over hot coals, sear for 3-4 minutes per side for medium thickness, and you’re done. The intense heat browns the surface through the Maillard reaction—the chemical process that creates savory flavor and color. High heat (400°F+) is non-negotiable for this task.
Temperature control separates amateur grilling from confident cooking. Your grill’s bottom vents control airflow, and airflow controls temperature. More air = hotter fire. Less air = cooler fire. When coals are glowing and you want to raise temperature, open the bottom vents fully and crack the top vent open about halfway. To lower temperature on a direct heat side, partially close bottom vents—close them 25-50% depending on how much cooling you need.
Common mistakes with heat zones happen because people new to charcoal grilling for beginners don’t plan ahead. You might dump all your charcoal into a single pile, creating one-zone cooking where everything is either too hot or too cool. Or you arrange coals correctly but forget the drip pan, so meat drippings fall directly onto coals, create flare-ups, and char your food unevenly. The drip pan solves both problems—it catches flare-causing drippings and provides water vapor that keeps your cooking environment moist and stable.
Temperature Control and Food Safety Tips
Temperature control and food safety form the foundation of every successful charcoal grilling session. Your grill’s vents are your primary tool for managing heat, while internal meat temperatures and proper resting techniques ensure both safety and flavor.
Your charcoal grill has two sets of vents: bottom vents that control airflow into the fire, and a top vent (usually on the dome lid) that lets smoke escape. Opening bottom vents increases oxygen flow to the coals, which accelerates combustion and raises temperature. Closing them restricts oxygen, cooling the fire gradually. The top vent should stay open during cooking to prevent smoke buildup, but you can adjust it partially to fine-tune heat output.
Vent adjustment for temperature control: To raise grill temperature, open bottom vents fully and crack the top vent halfway. To lower temperature on direct heat, close bottom vents 25-50%. For indirect heat cooking, close bottom vents 50-75% to maintain 225-250°F. Check your thermometer after each adjustment and wait 5 minutes before making the next change.
Internal meat temperatures protect your family from foodborne illness while achieving the doneness level you want. Chicken and turkey must reach 165°F in the thickest part (thigh for whole birds, the center for breasts) to eliminate salmonella and campylobacter bacteria. Ground beef and ground pork require 160°F throughout. Whole beef steaks and roasts only need 145°F for medium-rare because bacteria live on the surface, not inside—searing that surface at high heat kills pathogens before they penetrate.
- Chicken and poultry: 165°F in the thickest part (thigh for whole birds)
- Ground beef and ground pork: 160°F throughout
- Whole beef steaks and roasts: 145°F (medium-rare)
- Pork chops and roasts: 145°F
- Lamb: 160°F for medium
- Fish: 145°F, should flake easily with a fork
Resting meat after cooking is non-negotiable if you want juicy results. When meat finishes cooking, muscle fibers are contracted and stressed from heat. Resting allows those fibers to relax and reabsorb juices that were driven to the surface. A steak needs just 5-10 minutes of resting on a clean cutting board away from direct heat. Whole chickens need 10-15 minutes so juices redistribute throughout the meat.
Resting times for charcoal-grilled meat: Steaks and thin cuts rest 5-10 minutes. Whole chickens rest 10-15 minutes. Large roasts and briskets rest 20-30 minutes. Cover resting meat loosely with foil to retain heat while allowing steam to escape. Resting redistributes meat juices, preventing them from running onto the plate and creating drier, less flavorful results.
Cross-contamination happens when bacteria from raw meat spreads to surfaces, utensils, or other foods. Use separate cutting boards for raw meat and vegetables—once a board touches raw chicken, don’t use it for salads or bread without washing. Wash your hands with soap and warm water after handling raw meat, especially poultry. Never place cooked meat back on the same platter that held raw meat unless you’ve washed it thoroughly.
Frequently Asked Questions
How long does charcoal take to heat up for grilling?
Charcoal typically takes 15-20 minutes to reach proper grilling temperature when using a chimney starter. The coals are ready when they're covered with a thin layer of ash and glowing orange.
How much charcoal do I need for grilling?
For direct grilling, use about 30 briquettes or fill a chimney starter halfway. For indirect cooking or longer sessions, use 50-60 briquettes or a full chimney starter to maintain heat for 2-3 hours.
Can I add more charcoal while cooking?
Yes, you can add pre-lit charcoal from a second chimney starter during cooking. Avoid adding unlit charcoal directly to the fire as it will lower the temperature and may produce unpleasant smoke.
What's the biggest mistake beginners make with charcoal grilling?
The most common mistake is starting to cook before the charcoal is properly heated. Wait until coals are covered with ash and glowing evenly – rushing this step leads to uneven cooking and poor flavor.