Complete Reverse Sear Steak Guide: Perfect Results Every Time
What Is the Reverse Sear Method for Steak?
The reverse sear method flips traditional steak cooking on its head. Instead of searing the meat first in a hot pan, you slowly cook the steak in a low-temperature oven until it reaches your target internal temperature, then finish it with a blazing-hot sear that creates a golden crust in seconds.
This approach diverges sharply from conventional cooking. Traditional searing happens at the start—you blast a cold steak in a screaming-hot pan to build a crust, then move it to lower heat to finish cooking through. The reverse sear steak guide does exactly the opposite: gentle heat first, aggressive sear last.
The reverse sear technique cooks steak in two stages: first in a 275°F oven until the internal temperature reaches 10°F below your target (about 120°F for medium-rare), then seared for 60-90 seconds per side in a cast-iron skillet heated to 500°F+. This method ensures edge-to-edge evenness with a restaurant-quality crust.
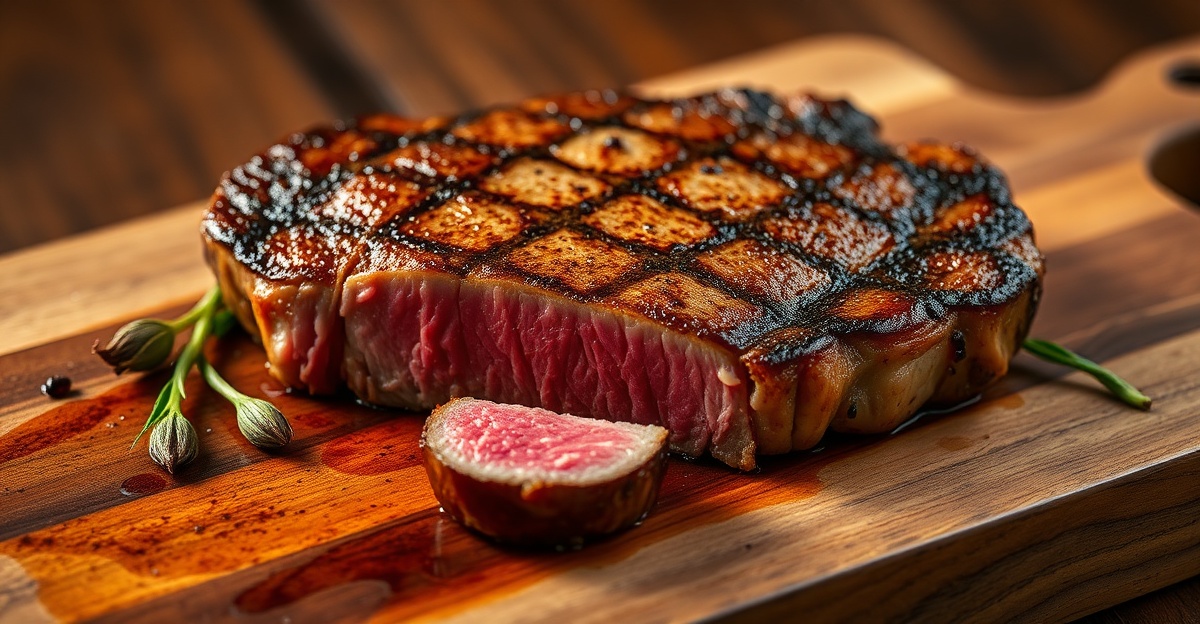
The benefits stack up quickly with this reverse sear steak guide approach. You gain precise temperature control throughout the cooking process—the low oven temperature prevents overcooking the exterior while the interior reaches perfection. The steak stays tender because it cooks slowly and evenly. You also get a superior crust since the meat’s surface is dry before searing, allowing for better browning through the Maillard reaction.
Best Cuts of Steak for Reverse Searing
The reverse sear method isn’t equally effective for every cut or thickness. Thicker steaks are the sweet spot—they need substantial time in the low oven to reach your target temperature, which is exactly what this technique provides. Thin steaks (under 1 inch) cook too quickly in the oven and don’t benefit from the slow, even heating that makes reverse searing superior.
Reverse searing works best with steaks 1.5 inches thick or thicker. Thinner cuts cook too rapidly in the oven and lose the advantage of even heat distribution that defines this technique. For steaks under 1.5 inches, traditional searing produces better results with less risk of uneven cooking.
Certain cuts naturally excel with reverse searing. Ribeye steaks rank at the top—their marbling keeps the meat juicy during the long oven phase, and the fat renders beautifully when seared. New York strip steaks deliver excellent results thanks to their leaner structure and consistent shape, which promotes even cooking. Filet mignon works wonderfully if thickness allows, creating an incredibly tender interior with a crispy exterior.
Meanwhile, thickness matters more than you might think when following any reverse sear steak guide. A 2-inch ribeye gives you a 30-40 minute window in the oven to reach temperature, allowing moisture to stay locked in while the interior climbs slowly toward medium-rare. A 1-inch steak might only need 12-15 minutes, which provides barely enough time for the benefits to accumulate.
Step-by-Step Reverse Sear Steak Instructions
Mastering the reverse sear technique requires attention to temperature milestones and timing across two distinct cooking phases. The process demands a reliable meat thermometer—an instant-read digital thermometer removes guesswork and prevents overcooking. Success hinges on understanding exactly when to transition from the oven to the searing stage.
- Place your steak on a wire rack set over a baking sheet and pat the surface completely dry with paper towels. This removes surface moisture that would inhibit browning during the final sear.
- Season the steak generously with kosher salt and freshly ground black pepper at least 40 minutes before cooking, or up to 24 hours in advance. Early seasoning allows salt to penetrate the meat and enhance flavor throughout.
- Preheat your oven to 275°F and allow it to reach temperature fully before inserting the steak. Insert the thermometer probe into the thickest part of the steak, positioning it horizontally to capture the true center temperature.
- Place the steak in the oven and monitor the internal temperature every 10 minutes. A 1.5-inch ribeye typically reaches 110°F in 20-25 minutes; a 2-inch cut needs 30-40 minutes. Remove the steak when it reaches 10°F below your target temperature (110°F for medium-rare, 100°F for medium).
- Let the steak rest on the counter for 5-10 minutes while you heat a cast-iron skillet to 500°F+. Test readiness by holding your hand 2 inches above the pan—you should only tolerate the heat for 2-3 seconds.
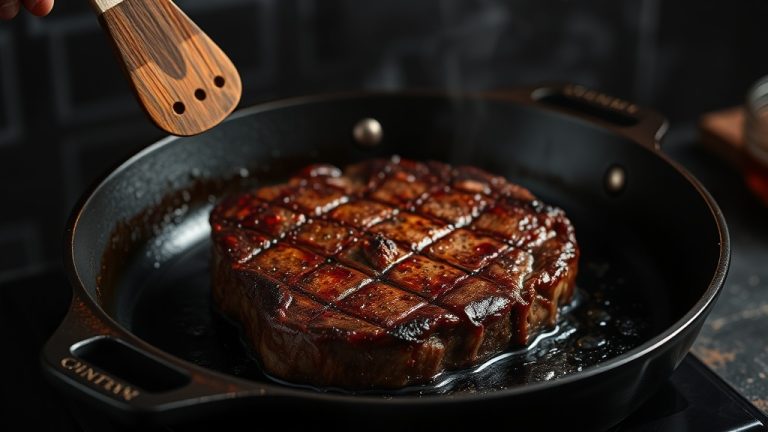
- Add a high-smoke-point oil (avocado oil or ghee work well) to the screaming-hot skillet, then immediately place the steak in the pan. Sear for 60-90 seconds without moving the steak, allowing a thick crust to form through the Maillard reaction.
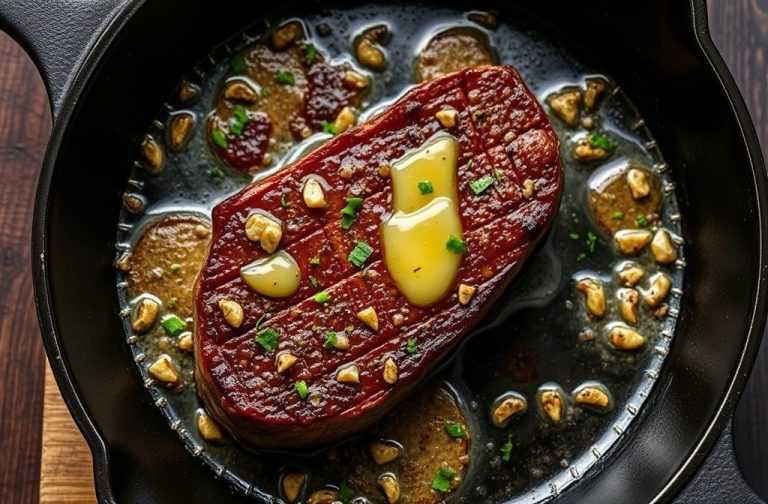
- Flip the steak once and sear the second side for another 60-90 seconds. In the final 20 seconds, add a pat of butter, crushed garlic, and fresh rosemary to the pan, tilting the skillet to baste the steak with the foaming butter.
- Transfer the finished steak to a cutting board and rest it for 5 minutes before serving. During rest, carryover cooking raises the internal temperature another 2-3°F, landing you at your exact target temperature.
Temperature precision separates successful reverse sear results from disappointing outcomes. A medium-rare steak pulls from the oven at 110°F internal temperature and finishes at 125°F after rest and searing. Medium targets 120°F in the oven, reaching 135°F finished. These specific benchmarks prevent the common mistake of overshooting your preferred doneness during the high-heat sear phase.
Timing varies dramatically based on steak thickness, oven calibration, and starting temperature. A room-temperature 1.5-inch steak requires roughly 25 minutes in a 275°F oven when following this reverse sear steak guide. A cold steak straight from the refrigerator adds 5-10 minutes. Always rely on your thermometer reading rather than clock time, as individual ovens fluctuate and ambient temperature affects cooking speed.
Temperature Control and Internal Doneness Guide
Temperature control defines the reverse sear method’s greatest advantage over traditional cooking techniques. Unlike conventional methods where you estimate doneness by touch or appearance, reverse searing lets you cook to an exact internal temperature, then finish with confidence. A reliable meat thermometer transforms guesswork into precision—your steak reaches your preferred doneness every single time.
The target temperatures for different doneness levels are non-negotiable benchmarks in reverse searing. Remove your steak from the oven when the thickest part reads 110°F for medium-rare (finishing at 125°F), 120°F for medium (finishing at 135°F), or 130°F for medium-well (finishing at 145°F). These specific pull temperatures account for carryover cooking—the 2-3°F temperature rise that happens during the searing phase.
Target Internal Temperatures for Reverse Sear Steaks: Pull your steak from the oven at 110°F for medium-rare (125°F final), 120°F for medium (135°F final), or 130°F for medium-well (145°F final). These benchmarks include 2-3°F of carryover cooking that occurs during searing and resting. Always measure temperature in the thickest part of the steak, away from any bone.
Using a meat thermometer effectively requires correct placement and timing when following any comprehensive reverse sear steak guide. Insert an instant-read digital thermometer horizontally into the thickest portion of the steak, positioning the probe in the exact center without touching bone. Check the temperature every 10 minutes starting around the 15-minute mark for thinner cuts and 20-minute mark for thicker steaks.
Carryover cooking continues climbing your steak’s temperature long after you remove it from heat. During the 60-90 second sear on each side, the exterior reaches 500°F+ while the interior climbs another degree or two from residual heat. The 5-minute rest period after searing adds another 1-2°F as heat redistributes from the hot exterior toward the cooler center.
Common Reverse Sear Mistakes to Avoid
The reverse sear method demands attention to detail across every stage, and even small mistakes can sabotage your results. Understanding where things go wrong helps you execute flawlessly and produces restaurant-quality steaks consistently. Most failures stem from rushing the process or ignoring temperature precision that makes this technique superior.
Overcrowding the pan during the searing phase destroys the high-heat advantage you’ve built through patient oven cooking. When you cram multiple steaks into a skillet simultaneously, the pan temperature plummets as the cold meat makes contact with hot metal. The steaks release moisture that pools in the pan, creating a steaming environment rather than the dry, high-heat searing you need.
Sear only one steak per skillet at a time. Multiple steaks lower the pan temperature and trap steam, preventing proper browning and crust formation. If cooking for more than one person, sear steaks individually or use multiple skillets heated to 500°F+ simultaneously.
Skipping or shortening the rest period leaves your steak unnecessarily hot and unevenly cooked. The 5-minute rest after searing allows heat to redistribute from the scorching exterior toward the center, equalizing temperature throughout the meat. This resting phase also allows muscle fibers to relax and reabsorb juices that were driven outward by the intense searing heat.
Rest your finished steak for 5 minutes on a cutting board or warm plate before slicing or serving. This allows carryover cooking to complete, heat to redistribute evenly, and muscle fibers to relax and retain juices for maximum tenderness and flavor.
Incorrect oven temperature is perhaps the most common mistake because many home ovens drift significantly from their set temperature. An oven that reads 275°F on the dial might actually sit at 265°F or 290°F, throwing off your entire timing equation. At 265°F, a 1.5-inch steak takes 30-35 minutes instead of 25, and you lose the precision that makes this reverse sear steak guide effective.
Check your oven’s actual temperature with a standalone oven thermometer before cooking. Many home ovens run 15-25°F off from their dial setting. If your oven runs consistently hot or cold, adjust your target temperature accordingly (for example, set it to 260°F if your oven runs 15°F hot) to maintain precise 275°F cooking conditions.
Additional mistakes compound these core errors and derail otherwise perfect execution. Using a skillet that isn’t screaming hot before adding the steak produces a gray, rubbery exterior instead of a caramelized crust. Flipping the steak multiple times during searing interrupts crust formation and allows the interior temperature to climb too quickly. Moving the steak around the pan prevents proper contact between meat and heat, generating steam instead of crust.
Tools and Equipment for Perfect Reverse Searing
Reverse searing success hinges on having the right tools before you start cooking. Three pieces of equipment make or break your results: a reliable meat thermometer, a heavy-bottomed skillet, and an accurate oven thermometer to verify your cooking environment. Without these essentials, even perfect technique can’t guarantee consistent outcomes.
An instant-read digital meat thermometer is non-negotiable for reverse searing success. Models with thin probes (2-3mm diameter) read temperatures in 2-3 seconds and minimize surface damage to your steak. Thermometers like the Thermapen Mk4 or ThermoWorks Dot display accurate readings within ±1°F, eliminating the guesswork that ruins countless steaks.
An instant-read digital thermometer with a thin probe is essential for reverse searing. Insert the probe horizontally into the thickest part of the steak, positioning it in the exact center without touching bone. Check temperature every 10 minutes starting at the 15-20 minute mark, depending on steak thickness. Digital models that read within ±1°F ensure you pull your steak at the correct internal temperature for your target doneness.
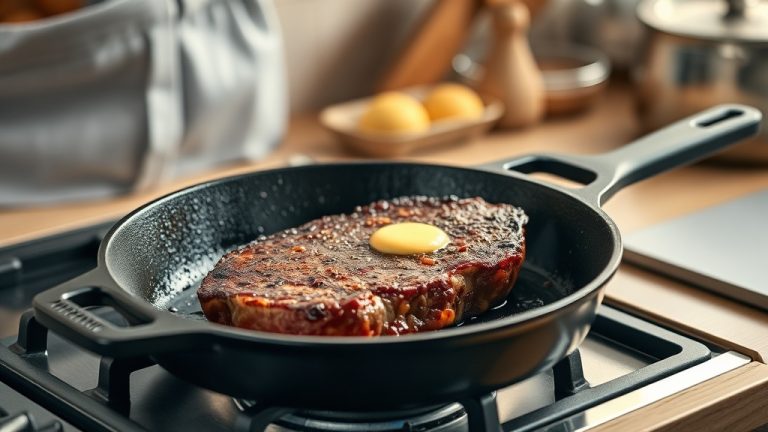
Cast iron skillets dominate reverse searing kitchens because they retain heat better than any other cookware material when following this reverse sear steak guide. A 12-inch cast iron pan distributes heat evenly across its cooking surface and maintains the 500°F+ temperature needed for proper crust formation. Lodge or vintage cast iron options work equally well—what matters is seasoning and mass.
1. Cast iron skillets (12-inch) retain heat at 500°F+ and distribute temperature evenly for consistent crust formation
2. Carbon steel pans offer a lightweight alternative with similar heat retention properties, though requiring slightly more careful temperature management
3. Stainless steel and non-stick skillets should be avoided—they can’t maintain adequate heat and prevent proper browning
An independent oven thermometer solves the single biggest source of reverse searing failure: oven temperature drift. Home ovens commonly run 15-25°F hotter or cooler than their dial setting, throwing off your entire cooking timeline and ruining temperature precision. A hanging oven thermometer or standing thermometer like the Rubbermaid or AcuRite models costs $8-15 and instantly reveals your oven’s actual temperature.
High-smoke-point oils enable successful searing at 500°F+ temperatures. Avocado oil (520°F smoke point) and refined ghee (485°F smoke point) withstand extreme heat without breaking down or imparting burnt flavors. Regular butter has a 350°F smoke point and will burn at searing temperatures—use it only for the final basting step, not for initial pan heating.
Paper towels and kosher salt complete your essential equipment list for any proper reverse sear steak guide. Paper towels absorb surface moisture from your steak before cooking, and kosher salt’s larger crystals dissolve more slowly than table salt, allowing better flavor penetration when you salt 40 minutes to 24 hours in advance.
Frequently Asked Questions
How long does reverse searing take for a 2-inch steak?
A 2-inch thick steak typically takes 25-35 minutes in a 250°F oven to reach medium-rare doneness (115°F internal temperature), plus 2-4 minutes for the final searing phase.
Can you reverse sear frozen steaks?
Yes, you can reverse sear frozen steaks by adding 15-20 minutes to the oven cooking time. Season the steaks once they're partially thawed during cooking.
What's the difference between reverse sear and sous vide?
Reverse sear uses dry oven heat while sous vide uses water bath cooking. Both achieve precise temperature control, but reverse sear is faster and doesn't require specialized equipment.
Do you need to flip steaks during reverse searing?
No flipping is needed during the oven phase. Only flip once during the final searing step, cooking 1-2 minutes per side for optimal crust development.