Reverse Sear Steak: The Foolproof Method for a Perfect Crust Every Time
The reverse sear method has quietly become the favorite technique of backyard pitmasters and professional chefs alike. Instead of searing first and finishing in the oven, you flip the process: low heat first, blazing hot sear at the end. The result is a steak cooked edge-to-edge to your exact target temperature — with a crust that could win awards.
What Is the Reverse Sear?
Traditional searing relies on the idea that a quick blast of high heat "seals in juices" — a myth debunked decades ago. The reverse sear, popularized by food scientist J. Kenji López-Alt, works on a simpler principle: bring the steak’s internal temperature up slowly, then sear it at the very end for the Maillard reaction crust.
Why does this work better? When steak heats slowly in a low oven, the surface dries out slightly. Dry surface + screaming-hot pan = better crust, faster. You’re not fighting moisture evaporation during the sear — it’s already done.
What You Need
- A thick-cut steak — at least 1.5 inches (ribeye, NY strip, or tomahawk work best)
- Cast iron skillet or heavy stainless pan
- Oven-safe wire rack and baking sheet
- Instant-read meat thermometer
- Neutral oil with high smoke point (avocado or grapeseed)
- Kosher salt and freshly cracked black pepper
- Butter, garlic, and fresh thyme for basting
Step-by-Step: Reverse Sear Steak
Step 1: Season and Rest
Season your steak generously with kosher salt and black pepper at least 45 minutes before cooking — ideally overnight in the fridge, uncovered on a wire rack. This dry-brine pulls moisture to the surface, which then gets reabsorbed, seasoning the meat deeper and drying the exterior.
Step 2: Low Oven, Slow Climb
Preheat your oven to 225°F (107°C). Place the steak on a wire rack set over a rimmed baking sheet. Insert a probe thermometer into the thickest part of the meat. Roast until the internal temperature reaches:
- Rare: 115°F (46°C)
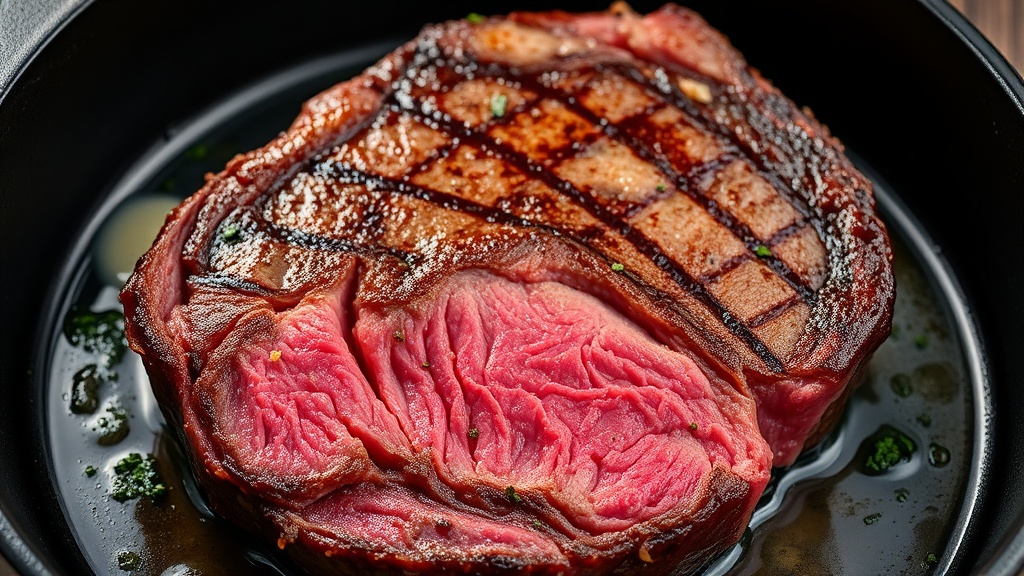
- Medium-rare: 125°F (52°C)
- Medium: 135°F (57°C)
A 1.5-inch ribeye will take roughly 25–40 minutes. Thicker cuts take longer. Patience is the ingredient most people skip.
Step 3: Rest Briefly, Then Sear
Remove the steak from the oven and let it sit for 5 minutes. This is a short rest — not the long rest you’d give a traditionally cooked steak. You want it warm when it hits the pan.
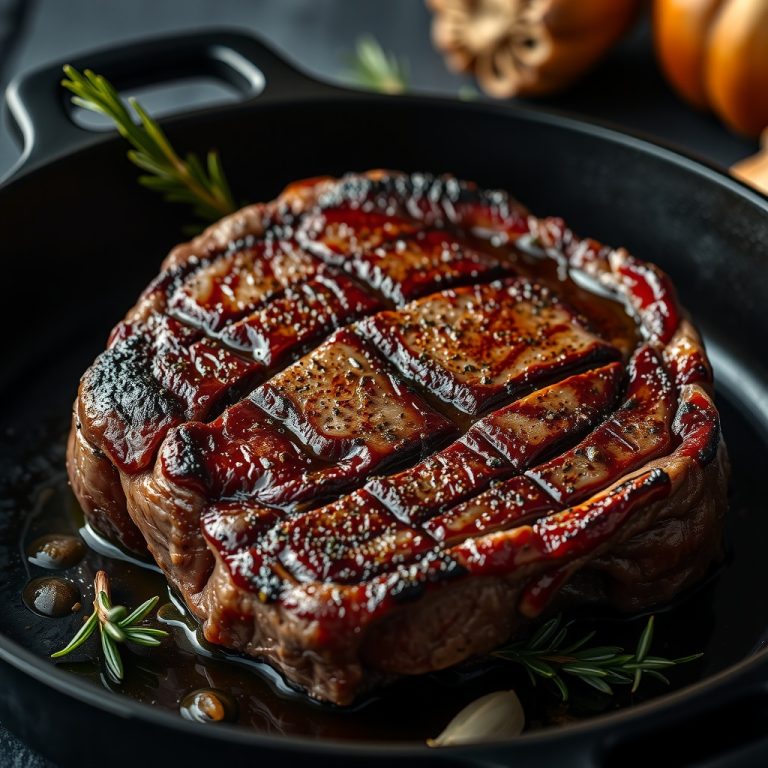
Heat your cast iron over the highest heat your stove allows for 3–5 minutes. Add a thin layer of high-smoke-point oil. When the oil begins to shimmer and smoke, lay in the steak. Sear 60–90 seconds per side, pressing gently for full contact. Add butter, crushed garlic, and thyme in the last minute and baste continuously.
Step 4: Check and Slice
Because the steak was already brought to temperature in the oven, the final sear adds very little carry-over heat. Your target temperature is essentially your finished temperature. Check with a thermometer, then slice against the grain and serve immediately.
Reverse Sear on the Grill
The reverse sear translates beautifully to a two-zone fire. Bank your coals to one side (or use only one burner on a gas grill). Cook the steak on the cool side with the lid closed until it hits your target internal temp. Then move it directly over the hot coals or burner for a 60-second blister on each side. The smoky char you get this way is genuinely extraordinary.
Common Mistakes to Avoid
- Using thin steaks. The reverse sear shines on cuts 1.5 inches and above. Thinner steaks cook through before the method has time to do its job.
- Skipping the thermometer. Guessing by touch is for people who don’t care about consistency. Use a thermometer.
- Not getting the pan hot enough. A mediocre sear defeats the whole purpose. 5 minutes of pre-heating is not too long.
- Over-resting after the sear. A traditionally cooked steak needs 5–10 minutes to let juices redistribute. The reverse sear steak needs almost none — it’s already rested during the low oven phase.
Why the Reverse Sear Beats Sous Vide (Sometimes)
Sous vide is precise, but it requires equipment and bags. The reverse sear achieves similar edge-to-edge uniformity with nothing but an oven and a thermometer. For most home cooks, it’s the better tradeoff: minimal gear, maximum results.
The one area where sous vide wins: time flexibility. You can hold a steak in a water bath for hours. With the reverse sear, you’re committing to a timeline. For most dinner situations, that’s perfectly fine.
Final Notes
The reverse sear works with any thick-cut beef — tomahawk, bone-in ribeye, cowboy cut, thick NY strip. It even works with pork chops and lamb. Once you understand the principle — slow heat, dry surface, fast sear — it becomes a flexible template you’ll apply constantly.
Try it once and you’ll wonder why you ever did it the other way.