Reverse Sear Steak: The Technique That Changed How We Cook Thick Cuts
The reverse sear isn’t a trend — it’s a fundamental shift in how to approach thick steaks. If you’ve ever struggled with an overcooked gray band around your medium-rare center, the reverse sear is the solution. Here’s everything you need to know about this game-changing technique.
What Is the Reverse Sear?
Traditional searing goes hot-first: you sear the outside in a blazing pan, then finish in the oven. The reverse sear does the opposite — you cook the steak slowly in a low oven first, then blast it with high heat at the end.
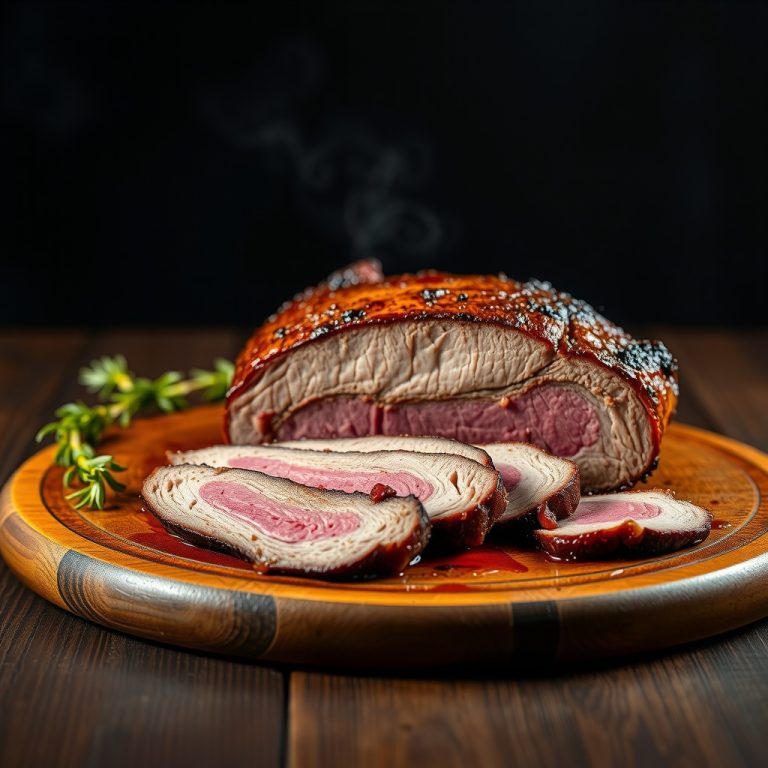
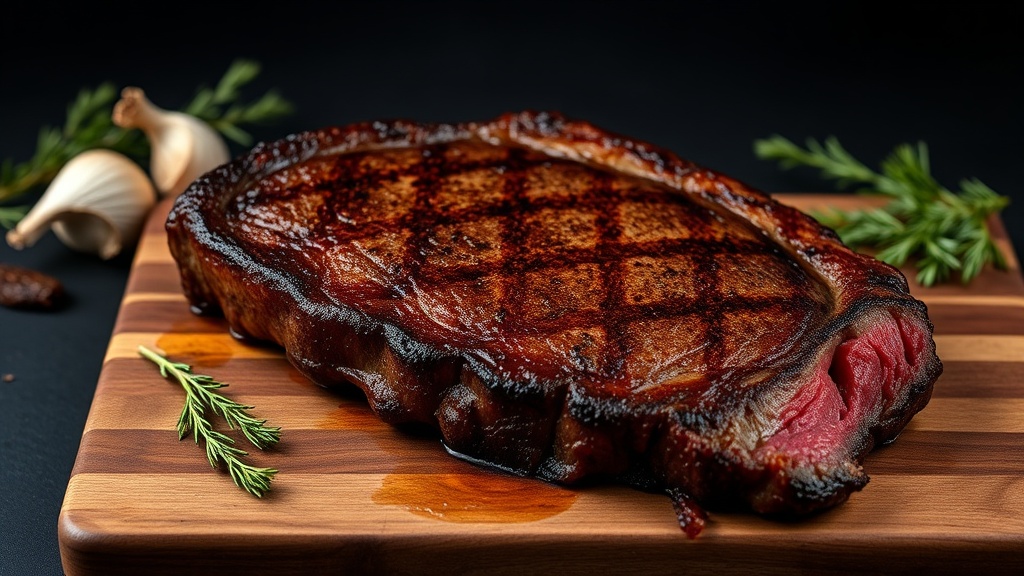
The result: an edge-to-edge, perfectly even doneness with a superior crust. No gray ring. No temperature gradient. Just consistent medium-rare from edge to center, with a Maillard-browned crust that beats the traditional method in both texture and flavor.
Why It Works: The Science
When you sear first, the high heat creates a significant temperature gradient — the outer layer reaches 160°F+ while the center is still cold. As the steak finishes in the oven, that outer zone keeps cooking. You get a thick band of overcooked meat surrounding your target doneness.
With reverse sear, the low oven brings the entire steak up to temperature evenly and slowly. By the time you sear, there’s minimal temperature differential — the crust browns quickly without driving the interior past your target.
An additional bonus: the slow oven phase dries the surface of the steak, which produces a dramatically better crust when it hits the hot pan. Dry surface = better Maillard reaction = better crust.
Best Cuts for Reverse Sear
The technique shines on thick cuts — ideally 1.5 inches or more. Thinner steaks cook too quickly in the oven phase to develop the benefits.
- Ribeye (bone-in or boneless) — Best overall choice. The fat renders beautifully during the slow phase.
- Tomahawk — Made for this technique. 2-inch thick cuts benefit enormously.
- New York Strip — Leaner but excellent results.
- Filet Mignon — Perfect for those who want center-cut precision.
- Porterhouse / T-bone — The even cooking is especially valuable with two muscle types.
What You’ll Need
- Steak (at least 1.5 inches thick)
- Wire rack + rimmed baking sheet
- Oven thermometer (oven temps often lie)
- Instant-read thermometer
- Cast iron skillet or carbon steel pan
- High smoke-point oil
- Butter, garlic, herbs for finishing
Step-by-Step Reverse Sear Method
Step 1: Season and Set Up
Season your steak generously with kosher salt and black pepper on all surfaces. For optimal results, season the night before and leave uncovered in the refrigerator — this dry brines the meat and further dries the surface for a better crust. If you don’t have time, season 45 minutes before cooking.
Place the steak on a wire rack set over a rimmed baking sheet. The rack allows air circulation on all sides.
Step 2: Low Oven Phase
Preheat your oven to 250°F (120°C). Place the steak in the oven with an oven-safe thermometer probe inserted into the thickest part, or plan to check with an instant-read every 10–15 minutes.
Cook until the internal temperature is 10–15°F below your target:
- For medium-rare (target: 130°F): pull at 115–120°F
- For medium (target: 145°F): pull at 130–135°F
Time varies by thickness: a 1.5-inch steak takes approximately 25–35 minutes. A 2-inch tomahawk may take 45–60 minutes. Go by temperature, not time.
Step 3: Rest (Briefly)
Remove from the oven and let the steak rest uncovered for 10 minutes. This brief rest allows the surface to cool slightly and dry further. Unlike the traditional method, this pre-sear rest is intentional — a cooler surface gives you a longer sear window before the interior overcooks.
Step 4: The Sear
Heat your cast iron skillet over the highest heat possible for 4–5 minutes. Add a thin layer of oil and let it begin to smoke. This is where you don’t hold back.
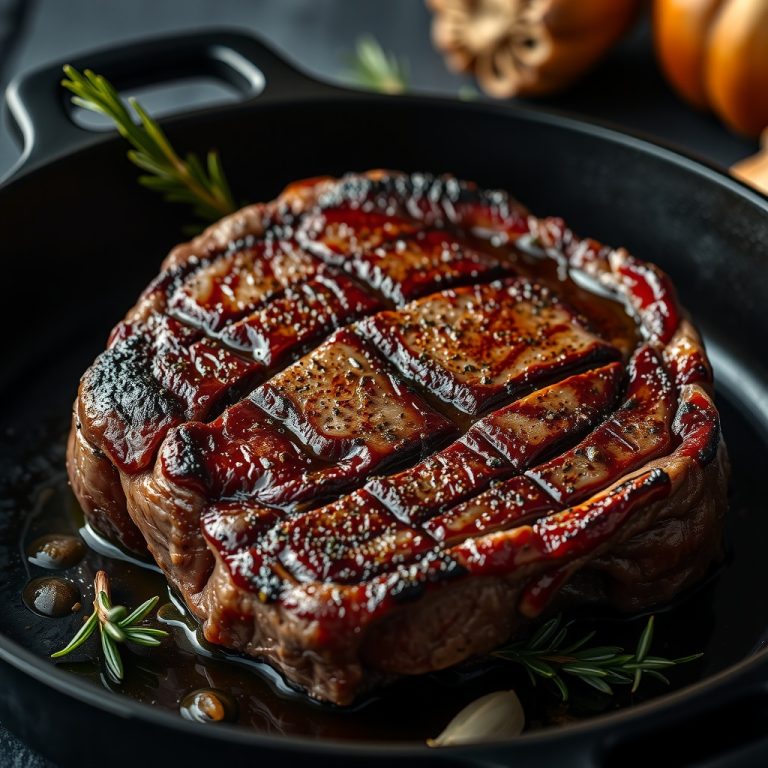
Place the steak in the pan and press it down gently to maximize contact. Sear each side for 45–90 seconds — you’re not cooking the steak here, you’re creating the crust. Because the interior is already at near-target temperature, you have very little time before it overcooks. Don’t walk away.
While searing, add butter, garlic, and herbs. Baste continuously. Sear the edges too — stand the steak on its side using tongs for 30 seconds per edge.
Step 5: Rest and Serve
Rest for 5 minutes after searing. Slice against the grain. You’ll see what perfect even doneness looks like — rosy pink from edge to edge, no gray band, and a deep mahogany crust.
Reverse Sear vs. Traditional Sear: Which Is Better?
For thin steaks (under 1 inch), traditional searing is faster and the difference is minimal. For anything over 1.5 inches, the reverse sear wins almost every time. The control, the crust quality, and the edge-to-edge evenness are difficult to match with the traditional method.
Common Mistakes
Pulling Too Early From the Oven
If you pull at too low a temperature, the sear phase will need to be longer — which risks overcooking. Hit your target pull temperature.
Not Getting the Pan Hot Enough
A warm pan on a pre-cooked steak is a disaster. You need maximum heat to get a fast crust. Preheat the pan for at least 4 minutes on high.
Skipping the Wire Rack
Cooking the steak directly on the baking sheet traps moisture underneath. The rack makes a real difference in surface dryness.
The Bottom Line
The reverse sear takes more time than a traditional sear, but the results are consistently better for thick cuts. Once you try it on a 2-inch ribeye or tomahawk, you’ll understand why it’s become the preferred method for serious home cooks and professional chefs alike. It’s not complicated — it just requires patience and a thermometer.