The Complete Guide to Reverse Sear Steak: Perfect Results Every Time
If you’ve been searching for the ultimate method to cook restaurant-quality steak at home, reverse searing is your answer. This technique has revolutionized home cooking, delivering perfectly cooked steaks with edge-to-edge doneness and an incredible crust.
What Is Reverse Sear?
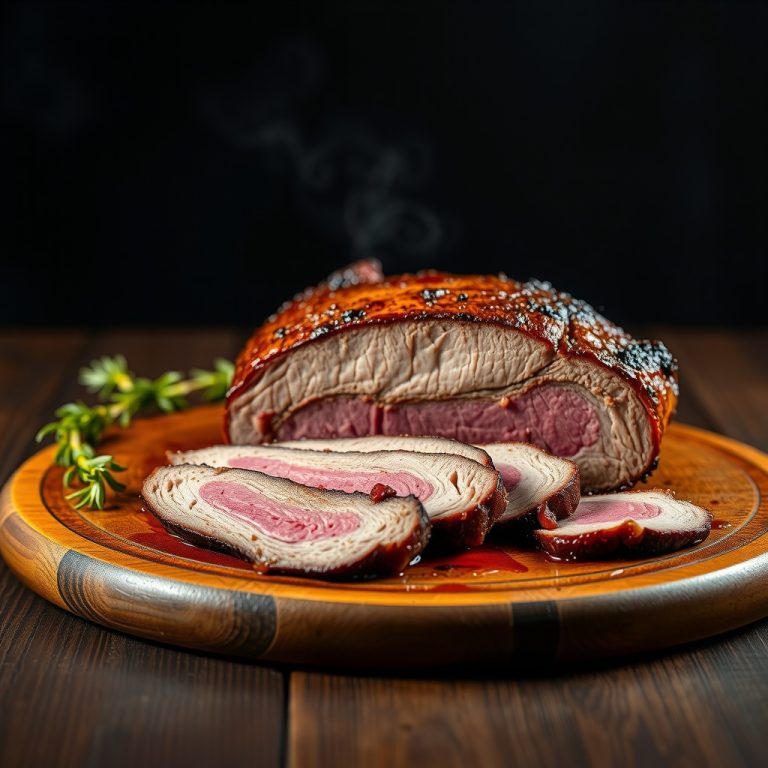
Reverse sear is a two-step cooking method where you slowly cook the steak at low temperature first, then finish it with a high-heat sear. Unlike traditional methods that sear first, this approach gives you unprecedented control over doneness and creates an exceptionally juicy result.
The beauty of reverse sear lies in its simplicity and reliability. By separating the cooking process into two distinct phases, you eliminate the guesswork and achieve consistent results.
Why Reverse Sear Works So Well
Traditional high-heat cooking methods create a gradient of doneness – overcooked edges with a small perfectly cooked center. Reverse sear eliminates this problem by bringing the entire steak to your target temperature gradually.
The low-and-slow initial cook also dries the surface slightly, which means when you sear, you get an incredible crust without overcooking the interior. This is the secret behind steakhouse-quality results.
Additionally, the gentle cooking process breaks down tough muscle fibers more effectively, resulting in a more tender bite throughout.
Choosing the Right Cut
Reverse sear works best with thick-cut steaks – at least 1.5 inches thick, ideally 2 inches or more. Thinner cuts cook too quickly and don’t benefit from this method.
Ideal cuts include ribeye, strip steak, filet mignon, and T-bone. Look for good marbling, as the slow cook will render the fat beautifully, adding flavor and moisture.
Prime or choice grade beef will give you the best results, but even select grade steaks will improve dramatically with this technique.
Step-by-Step Reverse Sear Method
Preparation
Remove your steak from the refrigerator 30-60 minutes before cooking. Season generously with coarse salt and freshly ground black pepper. Some prefer to season just before cooking, but pre-salting helps develop a better crust.
Pat the steak completely dry with paper towels – moisture is the enemy of a good sear.
Low-Temperature Cook
Preheat your oven to 225-275°F. Place the steak on a wire rack over a baking sheet to allow air circulation.
Insert a meat thermometer into the thickest part. Cook until the internal temperature reaches 10-15°F below your target doneness:
This typically takes 20-45 minutes depending on thickness and desired doneness.
The Sear
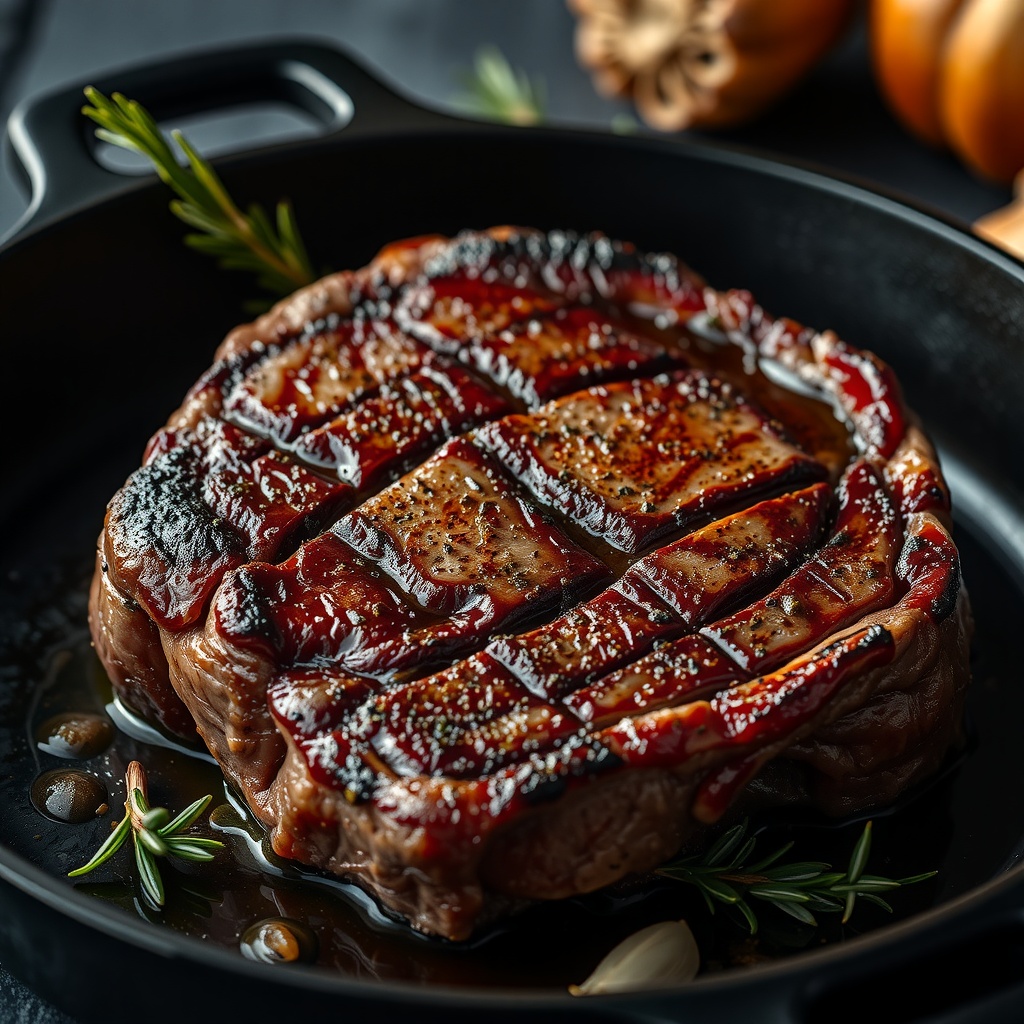
While the steak rests after the oven, heat a cast-iron skillet or heavy pan over high heat until smoking hot. Add a high smoke-point oil like avocado or grapeseed.
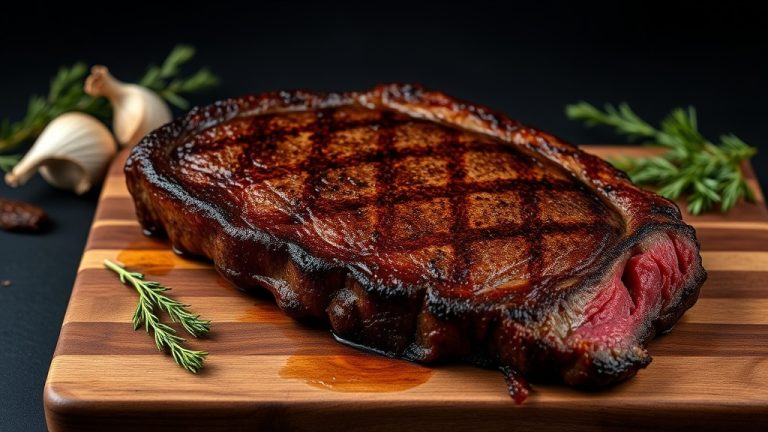
Sear the steak for 60-90 seconds per side, creating a deep brown crust. Don’t move it during searing – let the Maillard reaction work its magic.
For extra flavor, add butter, garlic, and fresh herbs during the final moments, basting the steak constantly.
Temperature Guide and Timing
Understanding target temperatures is crucial. Remember, the steak will rise another 5°F during searing, which is why you pull it early from the oven.
For a 2-inch ribeye to medium-rare, expect about 30-35 minutes in a 250°F oven, plus 2-3 minutes total searing time.
Always use an instant-read thermometer – guessing leads to disappointment. Digital probe thermometers that stay in the meat during cooking are ideal.
Common Mistakes to Avoid
The biggest error is overcrowding your timeline. Reverse sear takes patience – trying to rush the low-cook phase defeats the purpose.
Another mistake is insufficient heat during searing. Your pan should be smoking hot, or you’ll steam rather than sear.
Don’t skip the rest period after searing. Give your steak 5-10 minutes to allow juices to redistribute.
Variations and Pro Tips
Try smoking your steak instead of using the oven for the low cook. A pellet grill or charcoal smoker at 225°F adds incredible flavor.
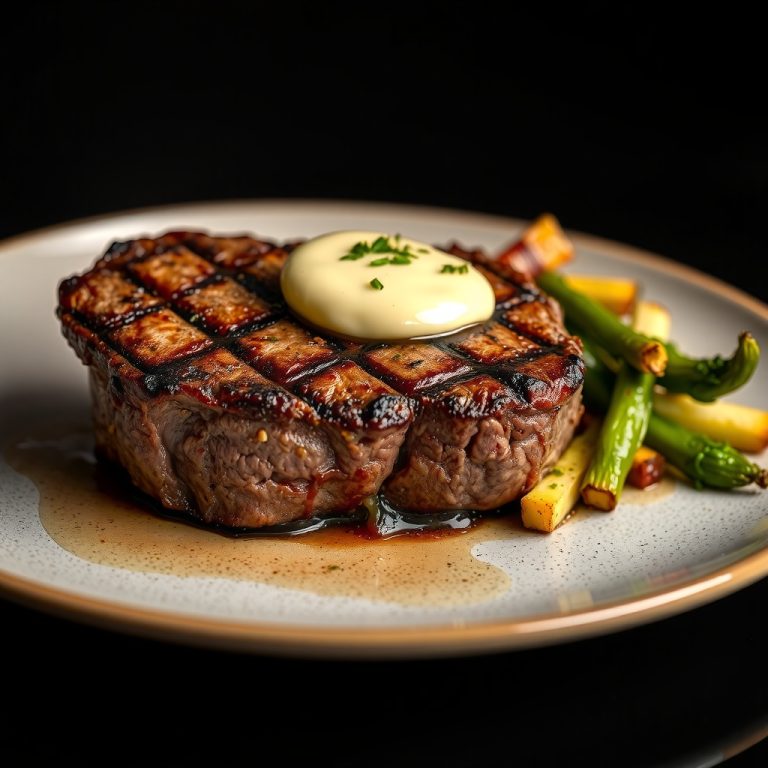
Compound butter melted over your finished steak elevates the experience. Mix softened butter with herbs, garlic, or blue cheese.
For an extra-crispy crust, after the oven and before searing, refrigerate the steak uncovered for 20 minutes. This dries the surface even more.
Sides That Complement Reverse Sear Steak
Since your oven is already running low, consider roasting vegetables alongside your steak. Brussels sprouts, asparagus, or carrots develop wonderful caramelization at these temperatures.
Classic steakhouse sides like creamed spinach, baked potato, or garlic mashed potatoes pair beautifully.
A simple arugula salad with lemon vinaigrette cuts through the richness perfectly.
Equipment You’ll Need
Essential tools include a reliable meat thermometer, wire rack, baking sheet, and heavy skillet or cast-iron pan.
Optional but helpful: infrared thermometer to check pan temperature, kitchen timer, and tongs (never pierce your steak with a fork).
Quality equipment makes the process easier, but you don’t need specialty items – basic kitchen tools work fine.
The Science Behind Perfect Steak
Reverse sear leverages two key principles: gentle heat denatures proteins without squeezing out moisture, while high heat triggers the Maillard reaction creating complex flavors and aromas.
The temperature gradient in traditional methods can be 100°F or more from edge to center. Reverse sear reduces this to 10-20°F, meaning almost the entire steak is perfectly cooked.
Understanding this helps you troubleshoot and adapt the method to your preferences.
Conclusion
Reverse sear transforms steak cooking from guesswork to precision. While it takes longer than traditional methods, the superior results are worth every minute.
Once you master this technique, you’ll never go back to conventional high-heat methods. Your steaks will rival the best steakhouses, with consistent doneness, incredible crust, and maximum juiciness.
Start with a quality thick-cut steak, be patient with the low cook, and sear with confidence. Your perfect steak awaits.